Notice: A non well formed numeric value encountered in C:\ClientSites\reviewhostingasp.net\httpdocs\wp-content\plugins\crayon-syntax-highlighter\crayon_formatter.class.php on line 118
Notice: A non well formed numeric value encountered in C:\ClientSites\reviewhostingasp.net\httpdocs\wp-content\plugins\crayon-syntax-highlighter\crayon_formatter.class.php on line 119
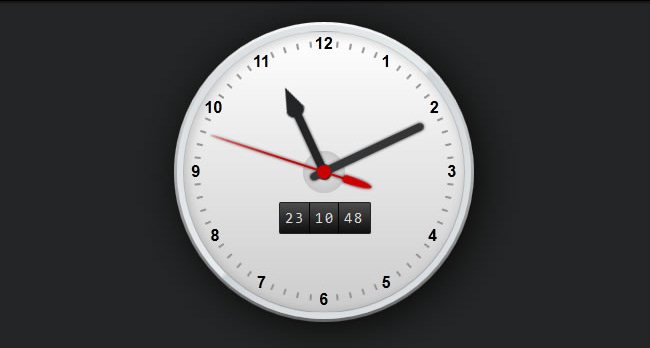
ReviewHostingASP.NET – In this tutorial, we will create a simple clock to display the current server time on ASP.NET page. To do this, you will use AJAX to update only the portion of your page that displays the time so that you can keep an accurate time without having to reload the entire web page.
Step 1: Creating The Website
At first, create a new ASP.NET empty Website and add an ASP.NET page named ‘Default.aspx’ to it. Then add the following to the Default.aspx page:
1. Add a scriptmanager to the page.
2. Add a timer to the page and name it ‘tmrUpdate’. Set the interval property to ’1000′ which corresponds to the length in milliseconds between each tick of the timer. Then, double click the timer in design mode to generate the tmrUpdate_Tick event method.
3. Add an updatepanel to the page. You can add a ‘<Triggers>’ section to the update panel in source mode. Then, add a new asyncpostbacktrigger to the triggers. After that, set the controlid property to ‘tmrUpdate’ and the eventname property to ‘Tick’. This will tell your update panel to update only when the tick event of our timer executes. The last, add a ‘<ContentTemplate>’ to the update panel. Then, add a label to the content template and name it ‘lblTime’.
Once you have your form setup with a label inside of an update panel that will only be updated in the event that your timer ticks. Now, you are ready to display the time.
Step 2: Displaying The Time
For this example, we will display the current time on the server. Typically client time would be preferred, but for simplicity the time shown in this example will be from the server. To do this, open Default.aspx.cs and add the following code to the tmrUpdate_Tick event method:
1 2 3 4 | protected void tmrUpdate_Tick(object sender, EventArgs e) { lblTime.Text = DateTime.Now.ToString("T"); } |
Step 3: Test It
At the last, we have to test this out load up the Website. Notice that your label displays the current time and updates every second. Without AJAX, your entire web page would have to reload every time you want to update your time, which in this case is every second. The benefit of using this method of updating is that only your label is being updated as opposed to the entire web page which can take a lot longer to load than one second.
Hope it works for you!
Best and Recommended ASP.NET Hosting
We highly recommend you to HostForLIFE.eu, the leading of Windows and ASP.NET hosting in Europe. Their service is ranked the highest top #1 spot in several European countries, such as: Germany, Italy, Netherlands, France, Belgium, United Kingdom, Sweden, Finland, Switzerland and many top European countries. HostForLIFE.eu is the only solution that helps everyone from personal, professional developers to large enterprises achieve success in ASP.NET website lifecycle management. HostForLIFE.eu gives every customer the opportunity to host unlimited domains in one control panel account with friendly-use Plesk Control panel. It means that you can easily manage all your websites from the same place and on the same server. Moreover, HostForLIFE.eu also offers useful features with the latest PHP, ASP.NET MVC, MySQL 5.7 Databases, SQL Server 2014 Databases and many more.

