Notice: A non well formed numeric value encountered in C:\ClientSites\reviewhostingasp.net\httpdocs\wp-content\plugins\crayon-syntax-highlighter\crayon_formatter.class.php on line 118
Notice: A non well formed numeric value encountered in C:\ClientSites\reviewhostingasp.net\httpdocs\wp-content\plugins\crayon-syntax-highlighter\crayon_formatter.class.php on line 119
ReviewHostingASP.NET – In Umbraco, we can create containers that content editors can use to create a hierarchy of pages but as of yet we have no way of rendering that data on a website. In order to do that, we must create a template. So, today we’re going to cover how to create a simple costum template in Umbraco using matching MVC view to render the HTML.

How to Create A Simple Costum Template in Umbraco Using MVC
Step 1: Setting Up Templates
Like ‘Document Types’, you can see the installed templates within your Umbraco website in the Settings section, which can be found in the left-hand section panel, under ‘Settings’ -> Templates.
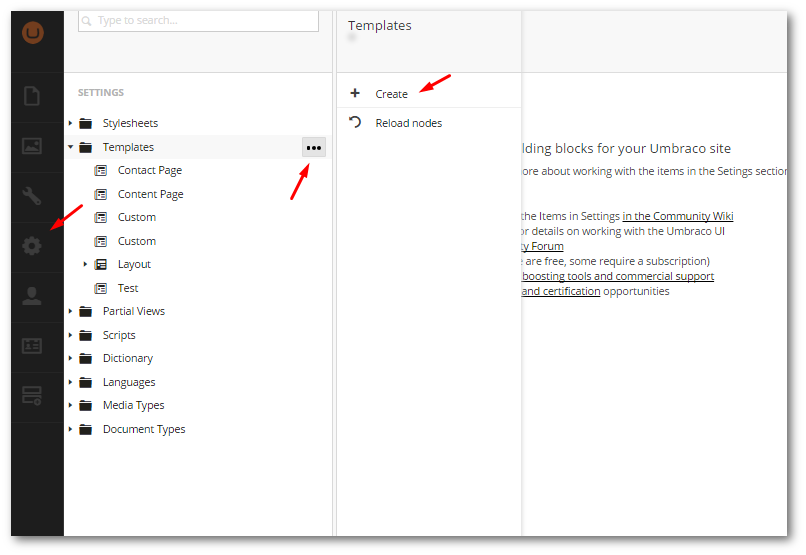
In here you can create a new template definition by selecting the ellipse next to the templates folder and selecting create.
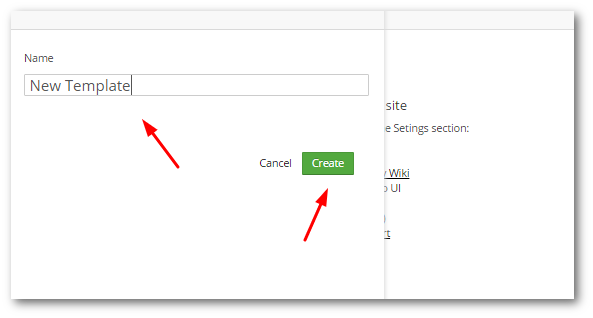
Create a name when you get presented. After you have created the template, you should see a text editor that will allow you to add in HTML and CSS. In here you can add in any HTML that you want.
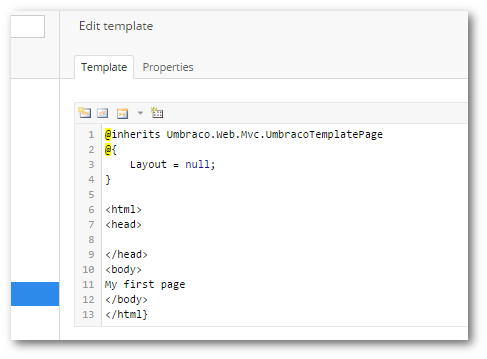
The HTML looks like this:
1 2 3 4 5 6 7 8 9 10 | @inherits UmbracoTemplatePage @{ Layout = null; } <html> <head> </head> <body>Text </body> </html> |
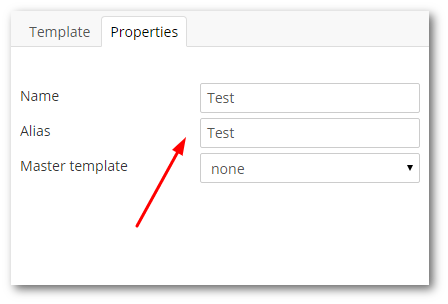
The view name will be named after the alias you set in the templates properties:
Step 2: Assigning A Template To A Document Type
So, now we have a very basic template defined in Umbraco the next step is to attach it to a ‘Document Type’. Go to the ‘Document Type’ section, select the document type you want to assign the template to and look in the ‘Info’ type.
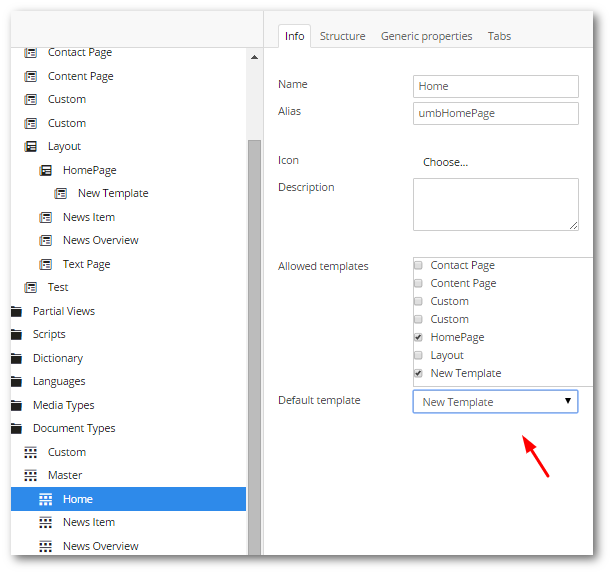
In here you have the ‘Allowed Templates’ column. If you have set your template up correctly then you should see your template in here, select it. Underneath it, you also have the ‘Default Template’ tab. The template that is set here is the one that is automatically associated with a page whenever a content editor creates a new one. If you go to the content section and create a new page using the document type you assigned the template to then after you publish the page, when you view the page you should see your new template displayed:

Step 3: Changing An Existing Pages Template
If you want to change the template on an existing page, go to the ‘Content’ section in the Section menu and select the page you want to update.
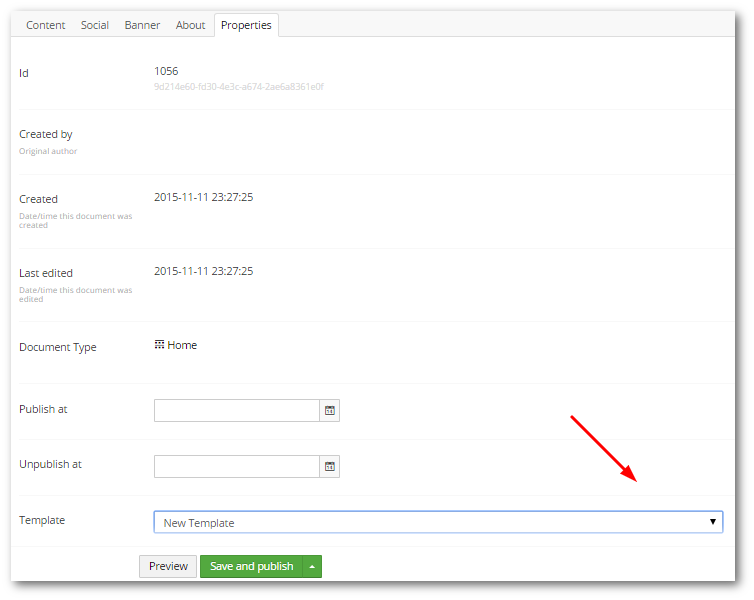
Navigate to the ‘Properties’ tab and go to the ‘Template’ section at the bottom. If you have set everything up correctly for your document type, you should see the template you want to select in the ‘Template’ drop down. After selecting the one you want to, hit the ‘Save and Publish’ button. Your template should now be ready to be used.
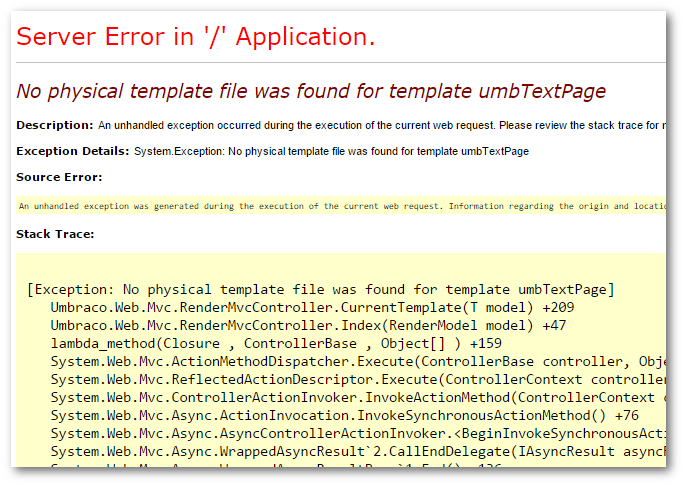
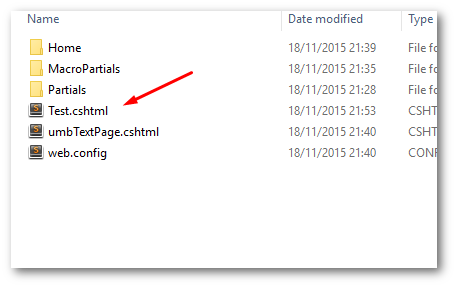
When you create a template in Umbraco, the view that gets created in your webroots View folder will not automatically be attached in your Visual Studio Solution file so you will manually have to attach it. In Visual Studio if you are unable to see it, you need to select ‘Show All Files’ in ‘Solution Explorer’, go to the Views folder click on the view and possibly hit ‘refresh’ in the top solution explorer menu, right-click on the view and select ‘Include in project’ to include it. To check if your website is set to run with web forms or MVC, open the umbracoSettings.config file in configs and go to the defaultRenderingEngine setting. You should see somethign like this:
1 2 3 4 | <templates> <!-- To switch the default rendering engine to MVC, change this value from WebForms to Mvc --> <defaultRenderingEngine>Mvc</defaultRenderingEngine> </templates> |
Best and Recommended Umbraco Hosting
Here, we pick out one of the most popular hosting company in Europe, HostForLIFE.eu, who offer outstanding best and recommended Umbraco hosting. HostForLIFE.eu has been recognized as the most specialized company in the Windows hosting industry in Europe. The regular price of HostForLIFE.eu Windows ASP.NET Shared hosting Plan is €3.00/mo, €5.50/mo, €8.00 and €11.00/mo for the 3 years, 1 year and 3 month plan. As the most reliable Umbraco hosting company, HostForLIFE.eu guarantees at least 99.9% uptime, meaning that customer’s websites can be accessible at any time on the web. They have included ASP.NET framework support on all their best and recommended Umbraco hosting plan.